


How can I install a certificate in PFX format?
.PFX refers to a file that combines the certificate, private key, and intermediate certificates into a single file.
It is commonly used on Windows-based web servers such as IIS. In this article, we will explain step by step how to install a .PFX certificate on IIS and bind it to a website.
Installing a Certificate in PFX Format on IIS
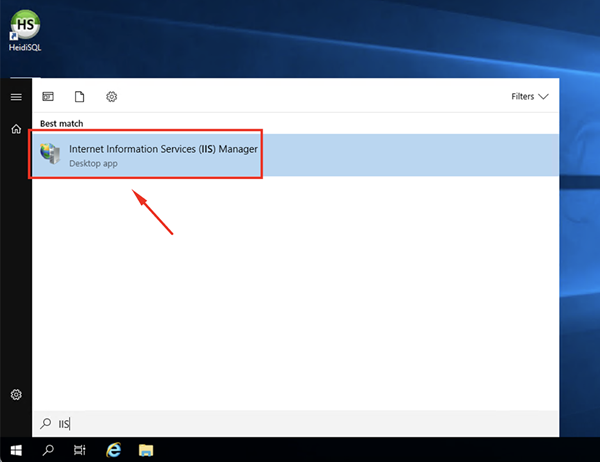
1. Open IIS Manager.
Click on Start and type IIS or InetMgr to open it.
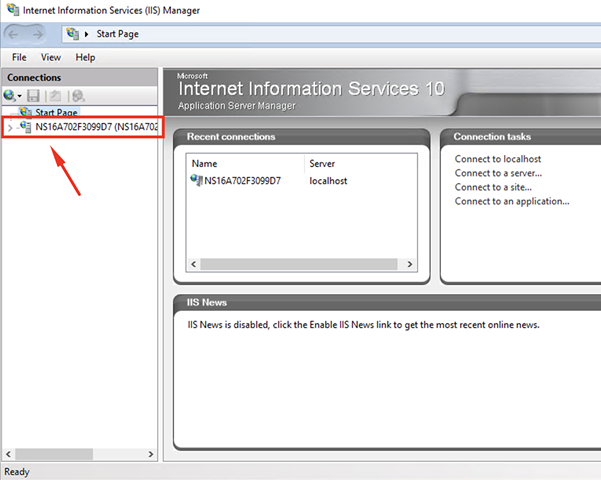
2. SELECT YOUR SERVER
In IIS Manager, select your server from the directory menu on the left.
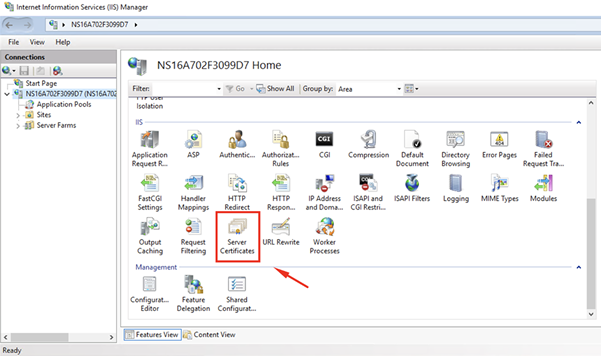
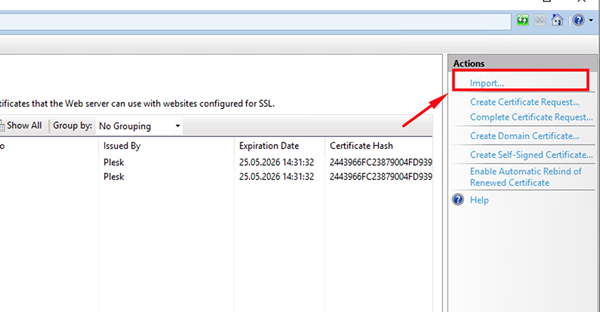
3. OPEN SERVER CERTIFICATES
Under the IIS section, double-click Server Certificates
4. GO TO IMPORT
From the right-hand menu, double-click the Import option.
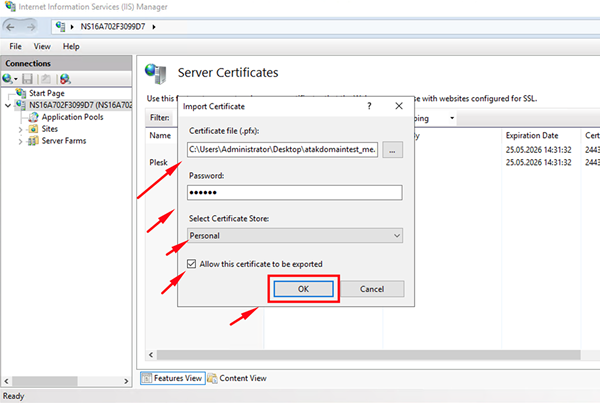
5. INSTALL THE CERTIFICATE
In the window that opens:
- Select the .PFX file,
- Enter the password (the one you set when creating the PFX file),
- For Select Certificate Store, choose Personal,
- Optionally, you can check the “Allow this certificate to be exported” box.
Note:
The option "Allow this certificate to be exported" determines whether the installed .PFX certificate can later be exported as a file.
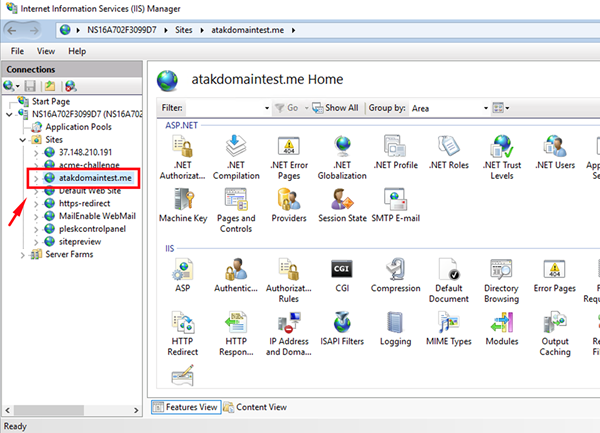
Binding the Certificate to a Website
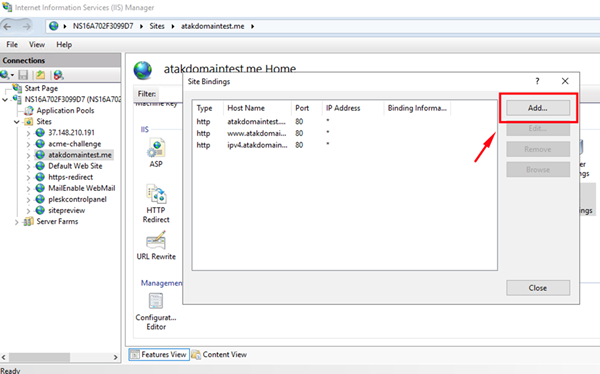
1. In IIS Manager, expand Sites and click on the domain where you want to bind the SSL certificate.
2. From the right-hand side, click on the Bindings option.
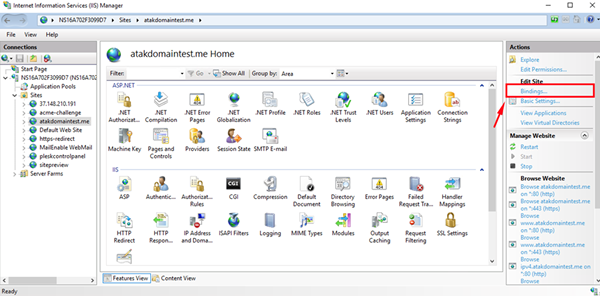
3. In the window that opens:
- Click the Add button.
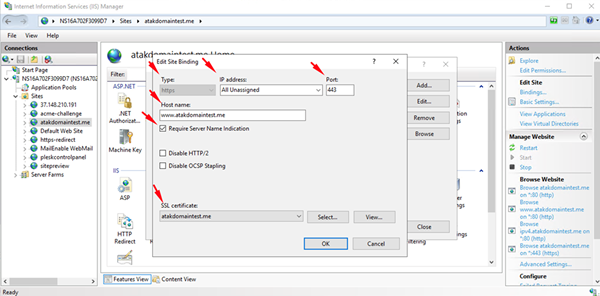
4. Configure the settings as follows:
Type: https
IP Address: Select All Unassigned to cover all available IPs, or choose a specific one if applicable.
Port: 443 (default port for HTTPS)
Host name: (your domain, e.g., example.com)
SSL Certificate: Select the certificate you installed
Require Server Name Indication (SNI): Check this box.
Note: If you are hosting multiple websites on the same IP address, and each uses a different SSL certificate and runs over https://, this must be checked. Otherwise, only one domain can be secured with SSL.
5. Click the OK button to complete the process.
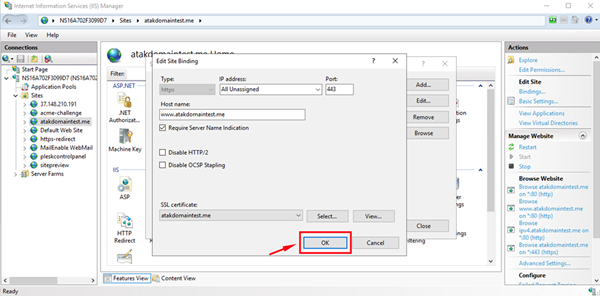
Congratulations!
You have successfully installed the certificate in PFX format and bound it to your website.
Random Articles

Should You Build a Domain Name Portfolio?
24.12.2020
16 WordPress Membership Themes to Spruce Up Your Community-Driven Business
12.01.2022
The Rise of Personal Branding: How Unique Domains Can Define Your Online Legacy
25.01.2024
What Is a Chatbot – Should You Add One to Your WordPress Site?
01.03.2022
Best Grammar Checker Tools for Writing and WordPress
28.02.2022