Free SSL for Your Website: Installation Guide for cPanel and Plesk
You can activate your free SSL certificate on cPanel and Plesk control panels by following the steps below.
Activating Let's Encrypt SSL on cPanel
1. Log in to cPanel
Log in to your website’s cPanel.
https://www.atakdomain.com/bilgi-bankasi/cpanele-nasil-baglanabilirim
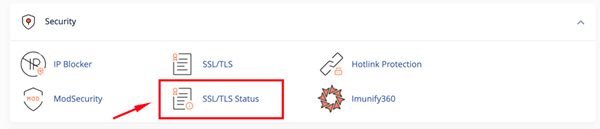
2. Go to SSL/TLS Status
Under the "Security" section, click on the SSL/TLS Status menu.
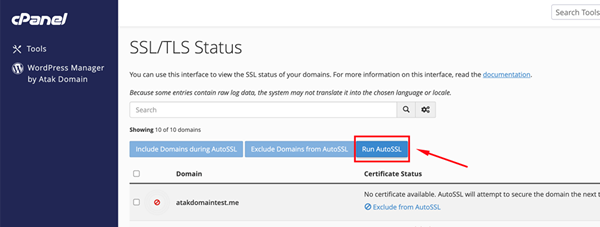
3. Run AutoSSL
Click the Run AutoSSL button.
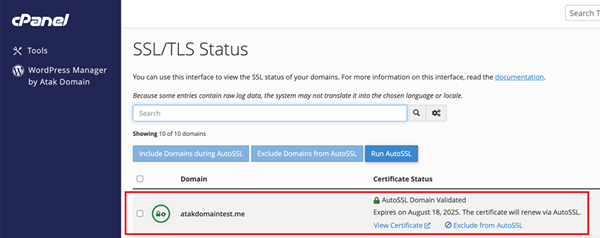
4. Verify the Certificate
After the installation is complete, you will see a screen like the one below.
Then, you can check your site using the HTTPS connection.
Activating Let's Encrypt SSL on Plesk Panel
1. Log in to Plesk
Log in to your website’s Plesk panel.
(NOTE: You can link to the article titled “How to Connect to Plesk?”)
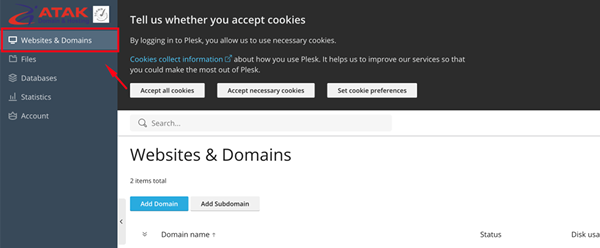
2. Go to Websites & Domains
In the left menu, click on the Websites & Domains option.
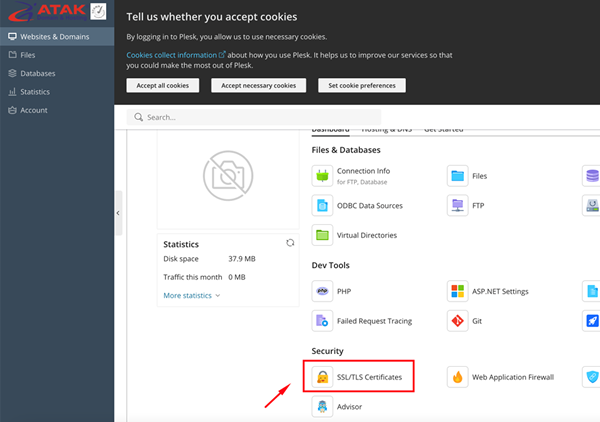
3. Select SSL/TLS Certificate
In the Security section, find and click on the SSL/TLS Certificates option.
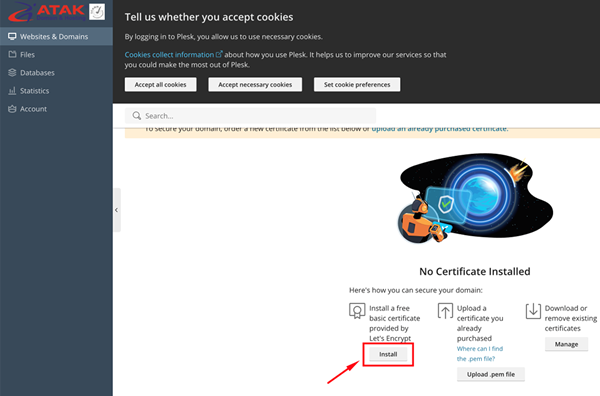
4. Install Let's Encrypt
At the bottom of the page, under the title “Install a free basic certificate provided by Let's Encrypt,” click the Install button.
5. Activate the Certificate
Select the required options for the certificate and click the Get it free button.

6. Enable the Certificate
Once the installation is complete, make the necessary settings to enable HTTPS.