Yandex Outlook Mail Setup
Yandex Outlook 2013 Mail Setup
Yandex Outlook 2013 Mail Setup - Topic Explanation
Yandex Mail Setup Settings
http://yardim.yandex.com.tr/mail/mail-clients.xml#pop3
Yandex Android and iPhone Mail App
http://mobil.yandex.com.tr/apps/mail/android/
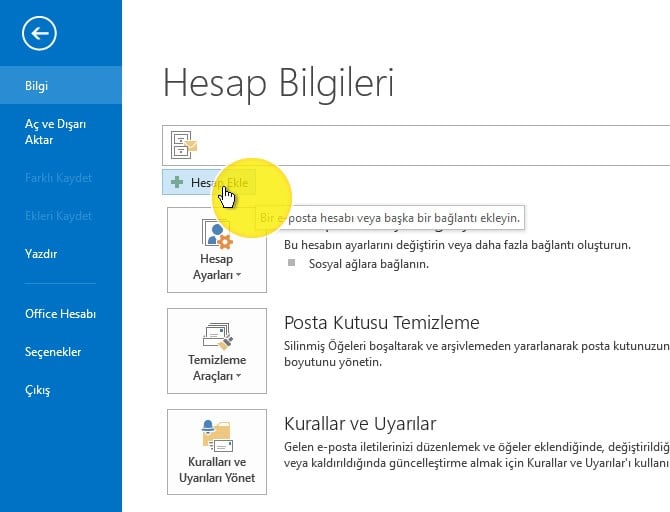
Step 1: First, open Outlook 2013. Click the File button at the top of the program. In the window that opens, click the Add Account button under the Info tab as shown below.
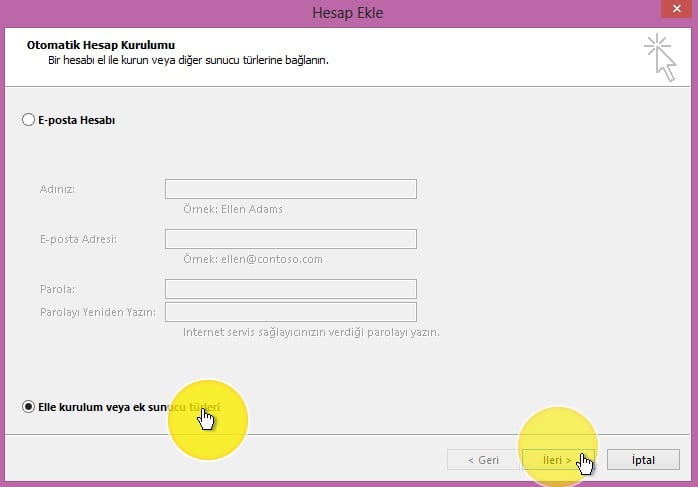
Step 2: In the window that opens, select the option that says Manually configure or additional server types and click Next.
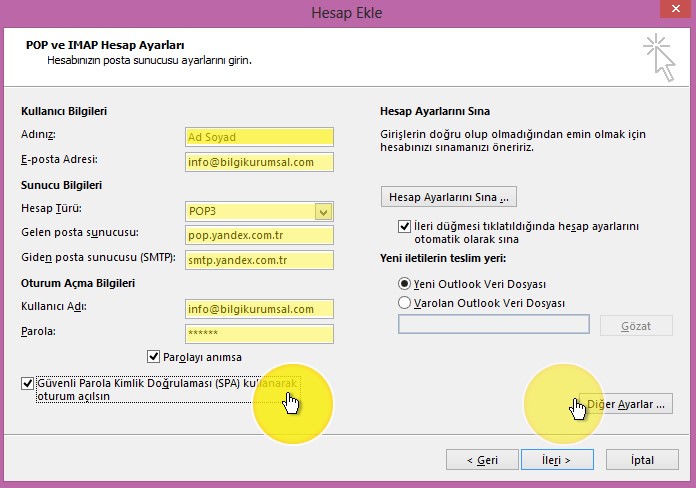
Step 3: In this step, enter our email details as follows.
User Information
In the Your Name field, enter your name.
In the Email Address field, enter the email address you will use.
Server Information
Select POP3 as the account type.
Incoming mail server: pop.yandex.com.tr
Outgoing mail server: smtp.yandex.com.tr
Logon Information
User Name: Enter your email address again.
Password: Enter your email account password.
Check the option to Log on using Secure Password Authentication (SPA).
After completing the information above, click the More Settings button.
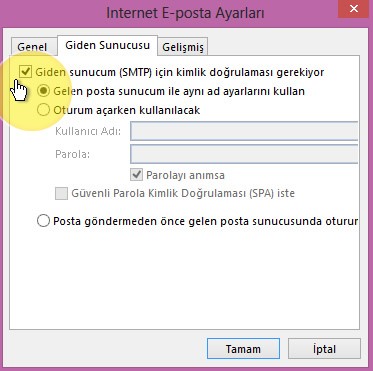
Step 4: When the More Settings window opens, on the Outgoing Server tab, check the option My outgoing server (SMTP) requires authentication.
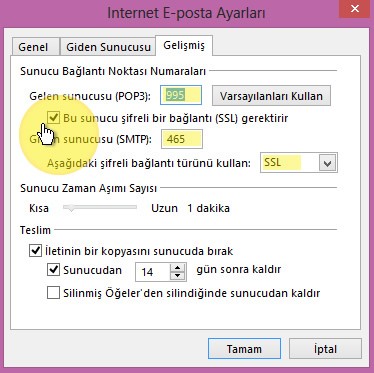
Step 5: Still in More Settings, click the Advanced tab. Set the values here as follows.
Incoming Server (POP3): 995
Check the option This server requires an encrypted connection (SSL).
Outgoing server (SMTP): 465
Use the following type of encrypted connection: SSL
Delivery: You can adjust the Remove from server after x days option as you wish, or you can remove the tick entirely.
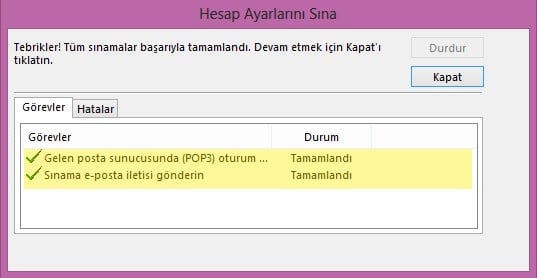
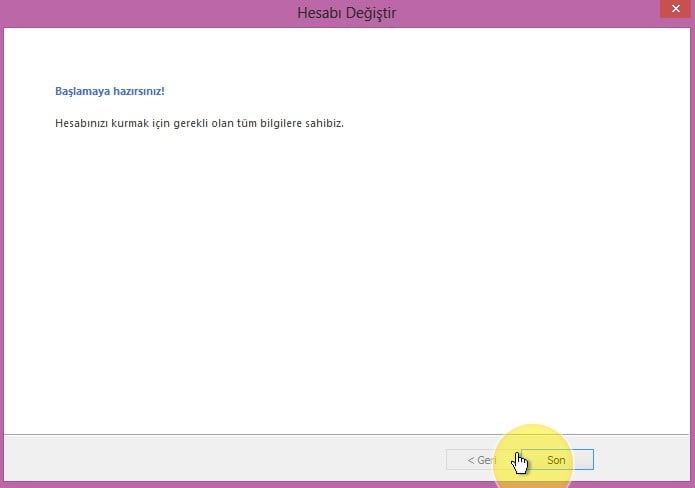
Step 6: Click OK to complete the process and then click Next to proceed to the test phase. Your Outlook setup for the email address has been completed successfully.